利用PHOTOSOP 里面创造一个残破的3D海报
Step 18
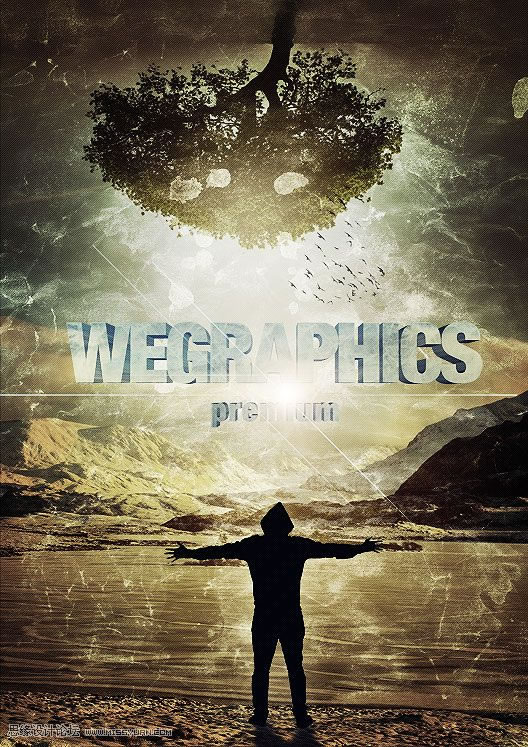
As a last touch we can place a nice linear pattern over the canvas. This effect will be visible only if you see the image in its real dimensions. Take a closer look:
第十八步
在最后,我们可以填充一些很漂亮的抽丝图案。抽丝的效果见下图:

抽丝图案的画法:
Create a new 5×5 pixels document and fill it with black.
新建一个5×5大小的画布,填充黑色
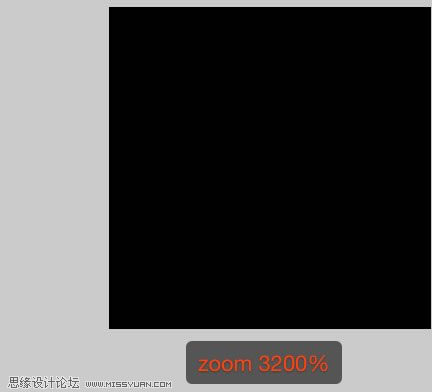
Now make sure to have white as foreground color and use the line tool to create a 45° line of 1px. Place it at the right of the square diagonal.
Tip: if you press shift while drawing the line, it will be easy to create a 45° line.
设置前景色为白色,用线条工具画一条45°角的斜线,位置在画布的对角位置。
小贴士:如果你按住SHIFT键画线条,45°角的斜线是最容易画的。

Duplicate this line (select the line layer and press ctrl+J) and move the duplicated one to the top-left corner:
复制这个线条层,(选择线条图层,按CTRL+J键),然后移动复制的线条层到画布的左上角。

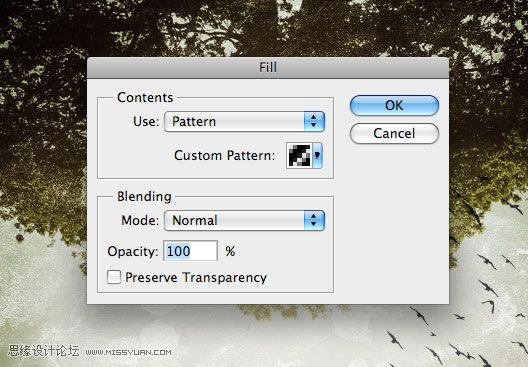
Go to Edit>Define Pattern and choose a title for this one. Return to your canvas, create a new transparent layer and place it immediately below the adjustment layers. Select Edit>Fill and choose the just created pattern
编辑-定义图案,并给这个图案命名。回到画布中,新建一层,并把这层放到调整层的下方,编辑-填充-图案,选择刚才定义的图案。
Step 19
All what remains to do is to set the layer to screen and reduce the opacity to 20%. Done!
第十九步
设置抽丝层图层模式为-滤色,不透明度 20%。完成。
| 上一页123456 |