利用PHOTOSOP 里面创造一个残破的3D海报
Step 4
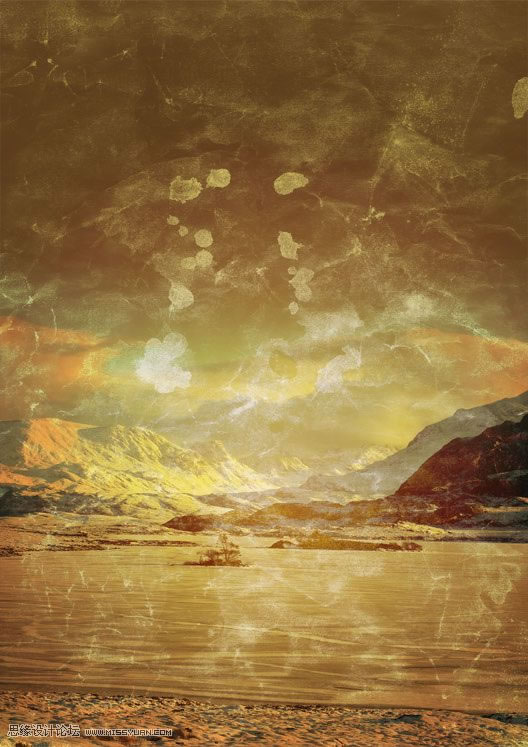
Now that we have created a nice grunge background, we can add natural elements to the composition. Photoshop give us the opportunity to mix elements using layers blending modes. I will show you how to achieve beautiful results using this tool. Paste in the mountains image, place it at the bottom of the canvas and set the layer to overlay. Now use the erase tool (E), or a mask if you prefer, to delete the upper part of the mountains image. Use a large soft (hardness 0%) brush for this purpose
第四步
现在我们有了一个很棒的残破背景,我们可以加些自然的素材进去。Photoshop 给我们提供了混合图层和素材的工具。我会告诉大家如何运用这些工具来打造美丽的效果。
打开山脉的素材,拖入画布中,放到底部,图层模式——叠加。
然后用橡皮工具或者图层蒙版工具来擦掉山的上面部分。选择大的柔角画笔(硬度0%)来操作。
Step 5
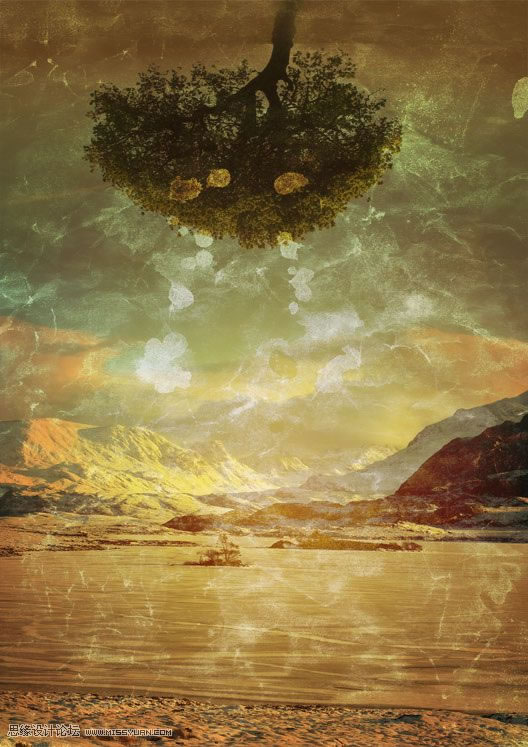
Paste in the image of the tree. Flip it vertically (Edit>Transform>Flip Vertical) and place it at the top of the canvas. Set the layer to overlay with opacity around 70%. Now once again use the erase tool to remove unwanted pixels (the bottom of the image and the meadow). There is not a specific reason to rotate the tree, simply I like these kind of surreal effects into my works. Also notice how blending options allow us to create beautiful colors mix.
第五步
打开树的素材,拉到画布中。编辑-变换-垂直翻转,放到画布的顶部。图层模式——叠加,设置不透明度70%左右。
用橡皮工具擦掉树底部不需要的部分。
Step 6
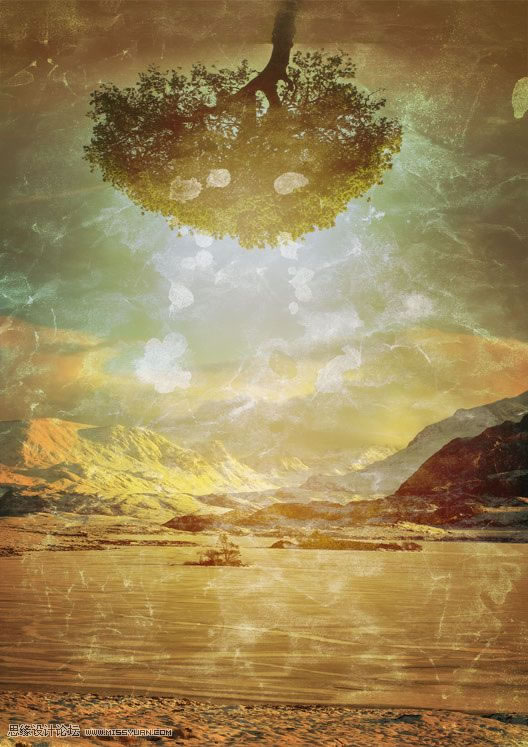
I want to create a light effect around the tree. Create a new layer below the paper texture one and use a large soft white brush to create light. Reduce the opacity of the layer until you’re satisfied with the outcome
第六步
我想在树的周围做一种光线的效果。那么新建一个图层,拉到纸张图层的下面,然后用大的白色的柔角画笔画一下,做成类似灯光的感觉,降低不透明度直到你自己觉得满意为止。
| 上一页123456下一页 |