镀金艺术字特效-Photoshop教程
来源 网页教学网 发布时间 2009-07-04
Photoshop文字特效系列教程:逼真的镀金字
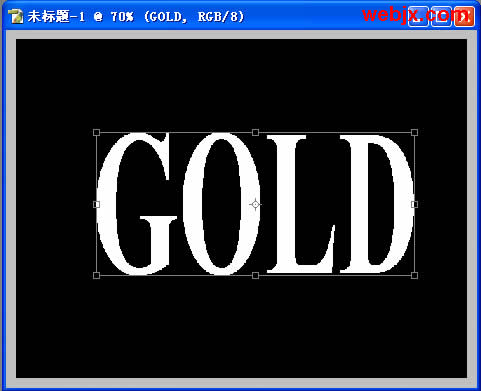
本例教大家在Photoshop7.0中制作镀金艺术字特效,先看效果图:

开始制作:
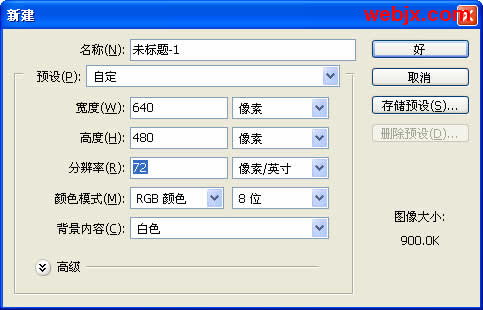
1、新建立文件。
2、输入文字,字体Times New Roman,加粗。然后按Ctrl+T,按住Shift调大。
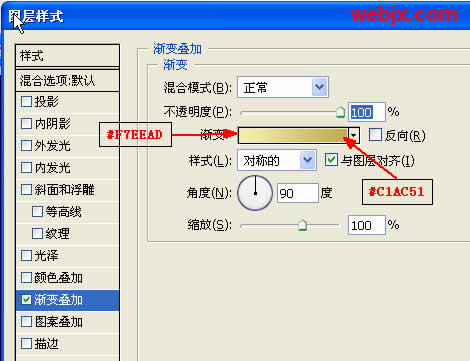
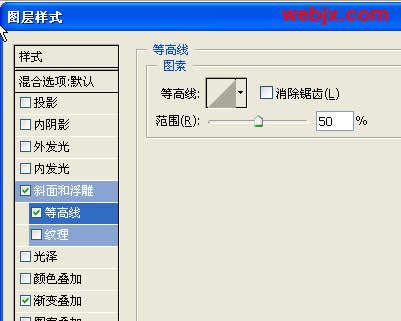
3、复制文字层,设置如下样式。
渐变叠加效果设置
斜面和浮雕效果设置1
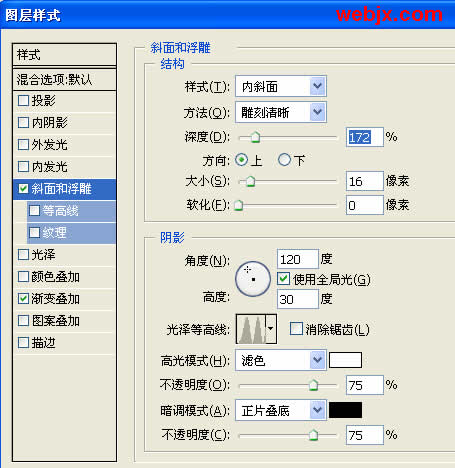
斜面和浮雕效果设置2
| 12下一页 |