Photoshop打造“星月花”艺术字
作者 麻辣姐姐 来源 ENET 发布时间 2009-01-27
先看一下最终效果:

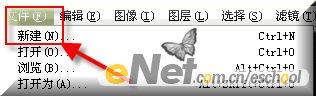
第一步:【文件-新建】菜单,(快捷键ctrl+n)新建一个背景为白色,分辨率为72像素/英寸的文件;注:这个文件大小随意,最后要缩小的,设置效果见[图1];

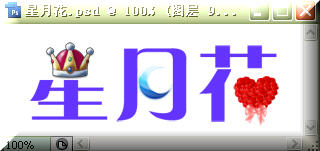
第三步:复制文字图层得到文字图层副本,【图层-栅格化-文字】菜单,栅格化文字副本图层,利用橡皮擦工具(快捷键E)去掉不需要部分;得到效果见[图4];

第四步:使用移动工具(快捷键V)拖动素材1、2、3到文件并且调整到相应位置及大小,效果如[图5]所示;

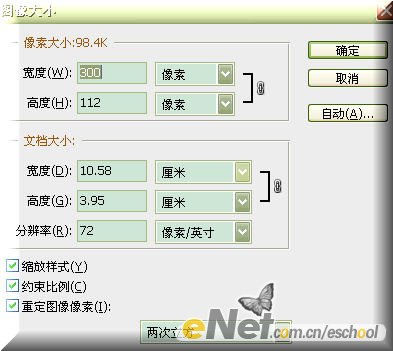
第五步:【图象-图象大小】菜单,缩小图片,我是缩小到300×112像素,此步是防止出现锯齿;设置见[图6],得到效果见[图7];
第六步:为背景拉一个从白色到浅紫(颜色代码381f3a)的渐变;得到效果见[图8];

| 12下一页 |