用Photoshop打造光晕文字视觉特效
发布时间 2009-05-09
7.然后为该图层添加投影、外发光和颜色叠加图层样式,设置如图7-9。
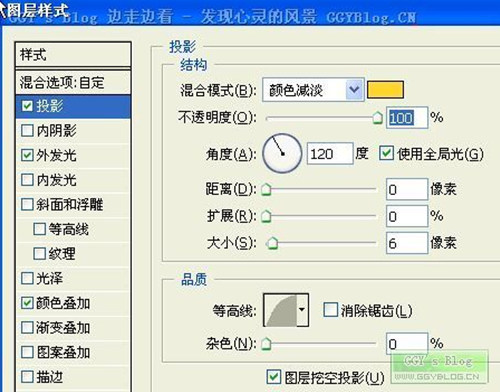
<图7>
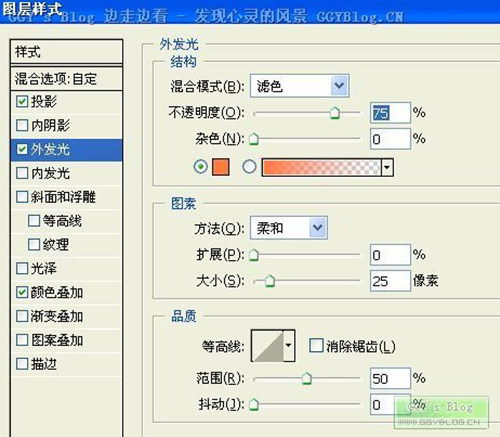
<图8>

<图9>
8.设置效果完成后,把图层模式改为叠加。按同样方法发挥自己想象再做几条发光的光线效果,设置图层效果都和上面一样。使效果更绚丽你可以按自己的想法去设置图层样式也可以。
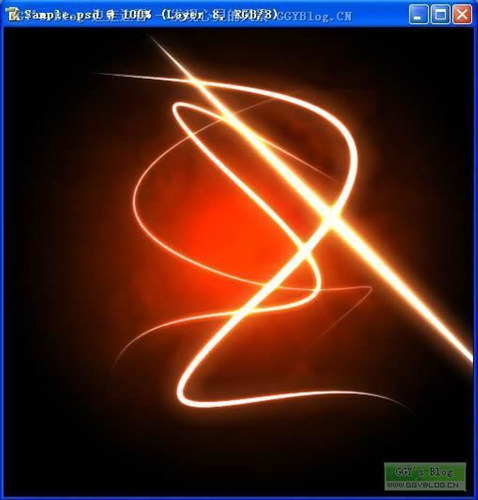
<图10>
9.然后打上文字

<图11>
10.同样也为文字层加上上面设置相同的投影、外发光和颜色叠加图层样式。为了效果更加酷,添加一些粒子效果
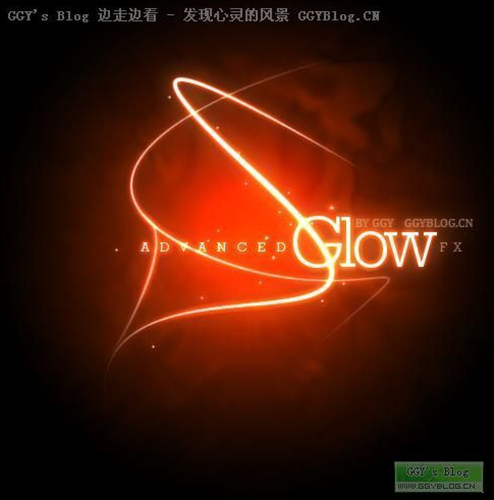
<图12>
11.现在效果已经相当不错了!上面的画面全部都是红色,我们应该添加一些其它颜色。建立新图层,添加由蓝色到白色的径向渐变,或者是其它颜色也可以。
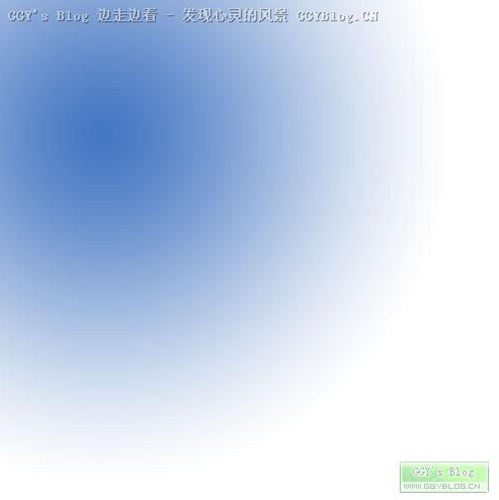
<图13>
12.然后把图层模式改为“颜色”,调整不透明度到30%。同样再建立几个图层设置不同颜色的渐变填充,然后都把图层模式设置为“颜色”,调整图层不透明度到合适大小,效果如下。完成最终效果。
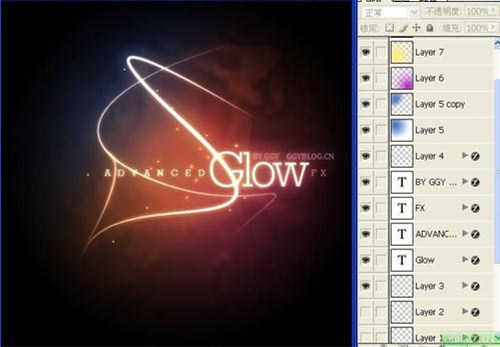
<图14>
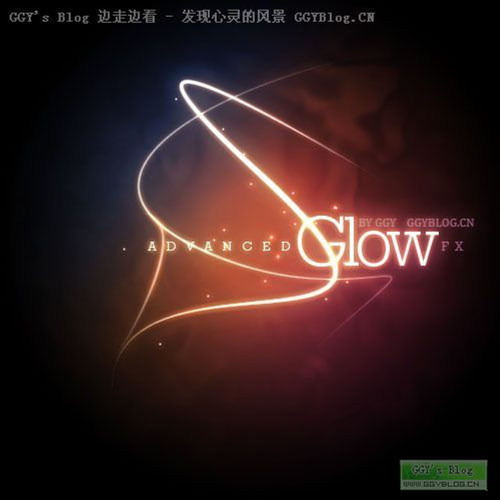
<图15>
| 上一页12 |