PS教程:打造非主流个性文字
作者 文/enet 发布时间 2009-04-13
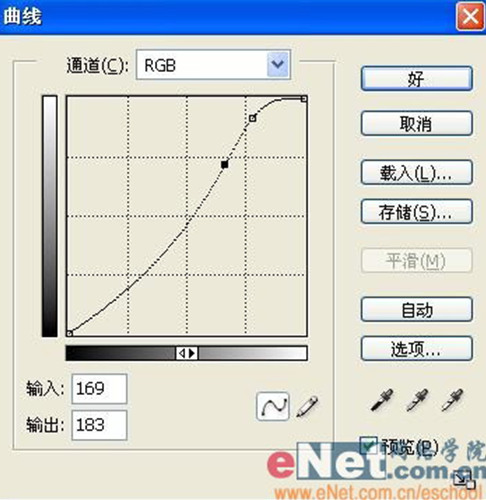
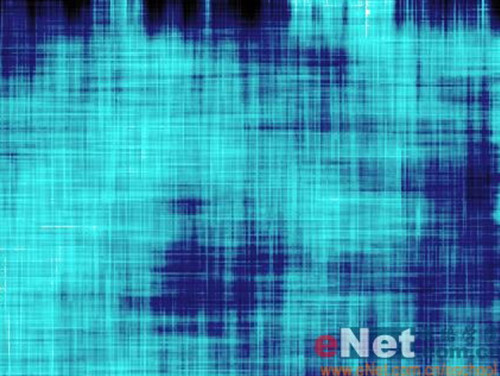
10、选择图层1,执行菜单栏中的“图像”“调整”“曲线”命令,在弹出的对话框中设置各项参数,如图14所示,图像效果如图15所示。
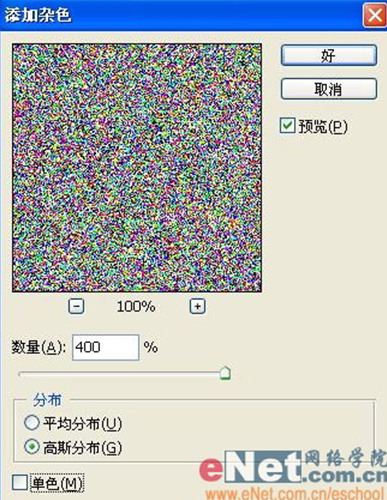
11、新建图层2,放置图层面板最上方,按Alt+Delete键填充白色,执行菜单栏中的“滤镜”“杂色”“添加杂色”命令,在弹出的对话框中设置参数如图16所示,图像效果如图17所示。

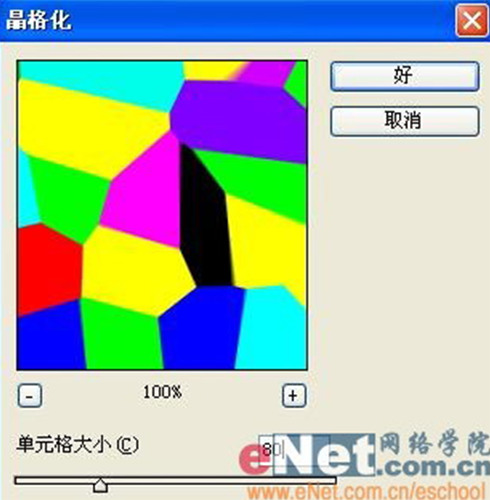
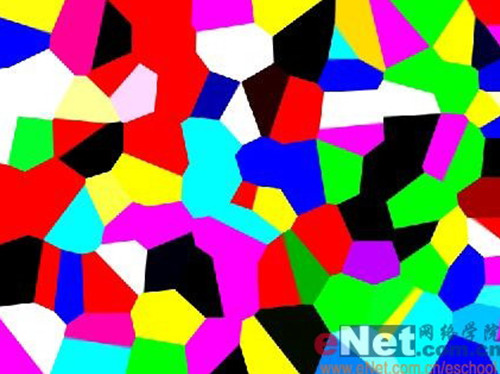
12、执行菜单栏中的“滤镜”“像素化”“晶格化”命令,在弹出的对话框中设置参数如图18所示,图像效果如图19所示。
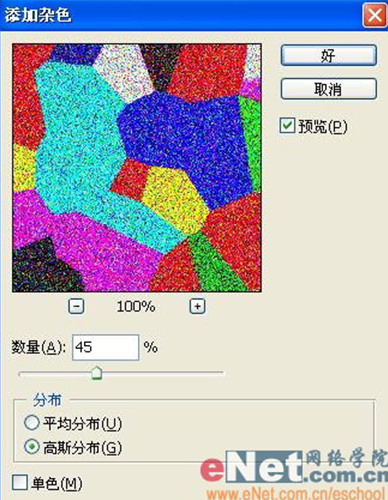
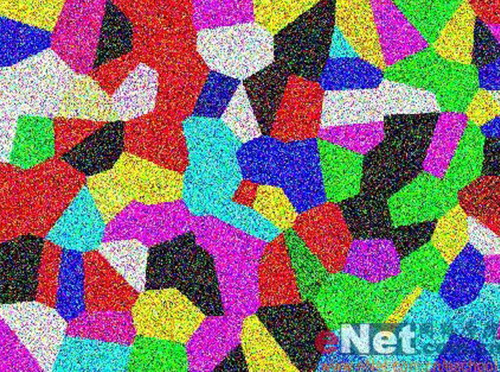
13、执行菜单栏中的“滤镜”“杂色”“添加杂色”命令,在弹出的对话框中设置参数如图20所示,图像效果如图21所示。
| 上一页1234下一页 |