打造美女跳动的旋律-PS艺术照片处理教程
作者 Sener 来源 PS联盟 发布时间 2009-08-20
6、把背景图层复制一层,按Ctrl + Shift + ]移到图层的最上面,用钢笔或者套索工具把人物抠出来,复制到新的图层,然后把背景副本隐藏,效果如图9。
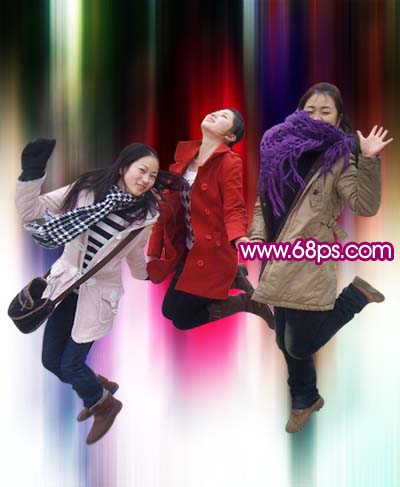
<图9>
7、按Ctrl + M把人物图层调亮一点,对比度调大一点,效果如图10。
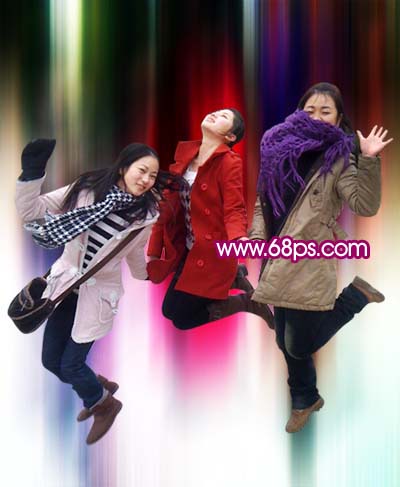
<图10>
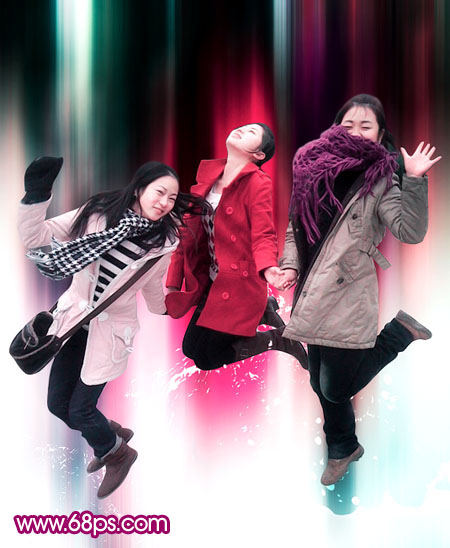
8、在人物下面新建一个图层,把前景颜色设置为白色,然后用画笔刷上一些喷溅笔刷,效果如图11。笔刷可以在本站下载。
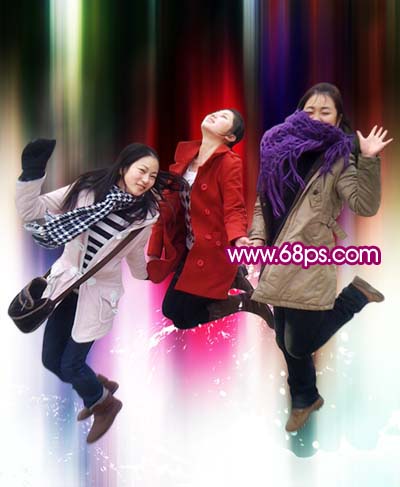
<图11>
9、再最上面新建一个图层,盖印图层,简单的给人物磨下皮,再适当的锐化一下,效果如图12。
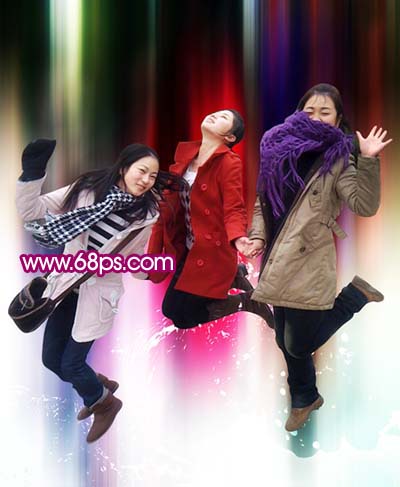
<图12>
10、创建色阶调整图层,参数设置如图13-15,效果如图16。
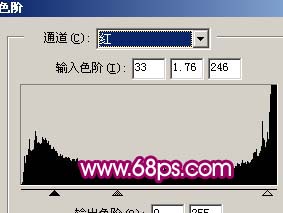
<图13>
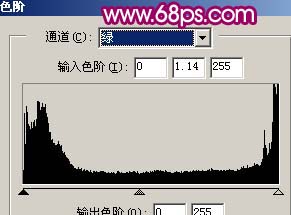
<图14>

<图15>
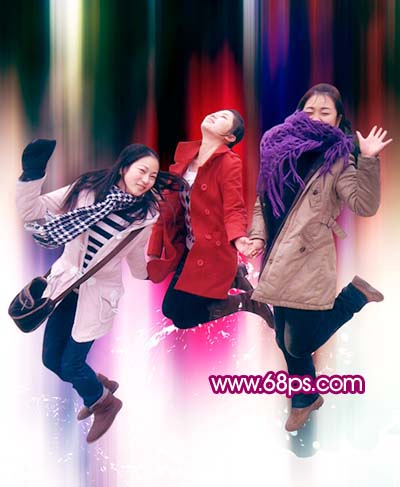
<图16>
11、再稍微调整下色相/饱和度调成自己喜欢的颜色。
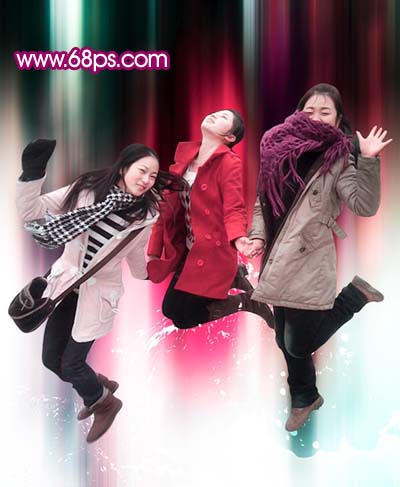
<图17>
12、新建一个图层,盖印图层。整体调整下细节和颜色,完成最终效果。
<图18>
| 上一页12 |