利用PHOTOSOP 里面创造一个残破的3D海报
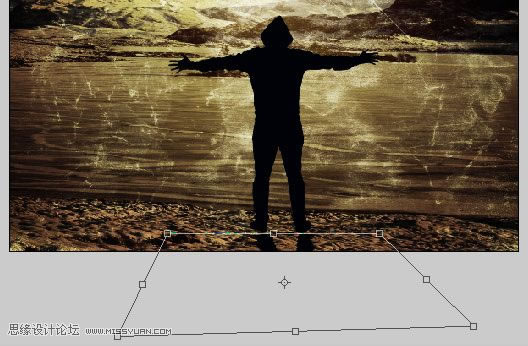
Step 14
There’s a dude and a light source: we must add shadow behind the dude. So duplicate the dude layer and select the distort tool (Edit>Transform>Distort). Now select the top-left and top-right anchor points and drag them below the bottom-left and the bottom-right. Then click enter to apply the transformation. Use the screenshot below as a reference:
第十四步
现在做人物和他的投影:我们必须加个阴影在人物的后面。那么复制人物图层并进行变形(编辑-变换-斜切),确定上面左边和右边的位置后,拉扯下面左边和右边2个点进行变形。具体可以参考下图:
Step 15
To make the shadow more realistic, let’s apply a gaussian blur (Filter>Blur>Gaussian Blur) with a radius around 5 pixels and reduce the opacity to 65%
第十五步
要让阴影看起来比较真实些,那么用高斯模糊工具来达到效果(滤镜-模糊-高斯模糊)数值5 不透明度度65%

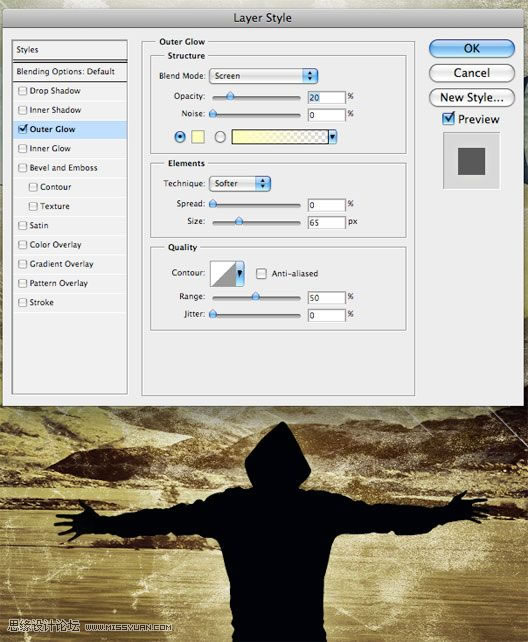
Step 16
I want to enhance the dude with a kind of light effect that surrounds him. So right-click on its layer and select Blending Options. Then apply an outer glow with the following settings:
第十六步
我想在人物的周围作出一些光线的效果,那么鼠标右键点击人物图层,进行混合选项的设置,具体数值见下图:
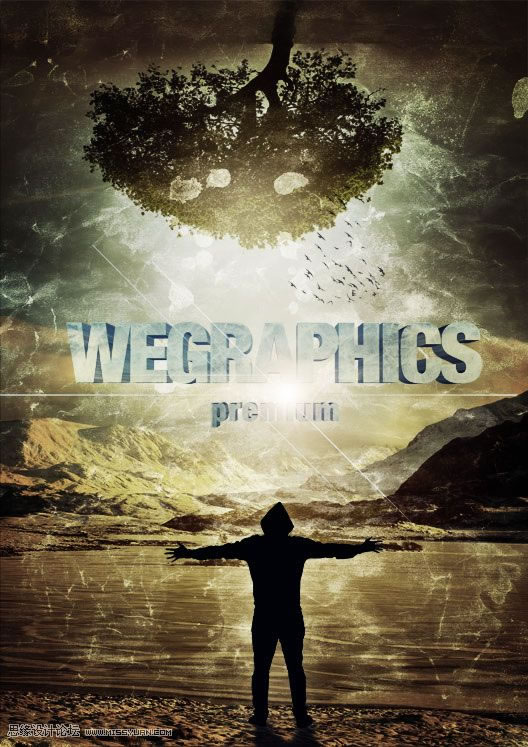
Step 17
The work is almost complete. At this point I decided to add another detail: flying birds. I downloaded this item from the gomedia arsenal freebie section. However you can find lots of free vector birds surfing sites like vecteezy or qvectors.
第十七步
到这个时候整个图的效果基本上完成了。这个时候我决定加一些其他的细节:飞鸟。我选择了一些矢量的飞鸟的素材,你可以在论坛找到很多免费的飞鸟素材的。
| 上一页123456下一页 |