利用PHOTOSOP 里面创造一个残破的3D海报
Step 11
Use curves to increase image contrasts. Create a new adjustment layer and this time select Curves. Create a “S” using the curve to give vividness to the image:
第十一步
利用曲线工具来加强图片的对比度。新建调整层-曲线,把曲线拉成一个类似“S”字母的形状,来给予图片生动的感觉。

Step 12
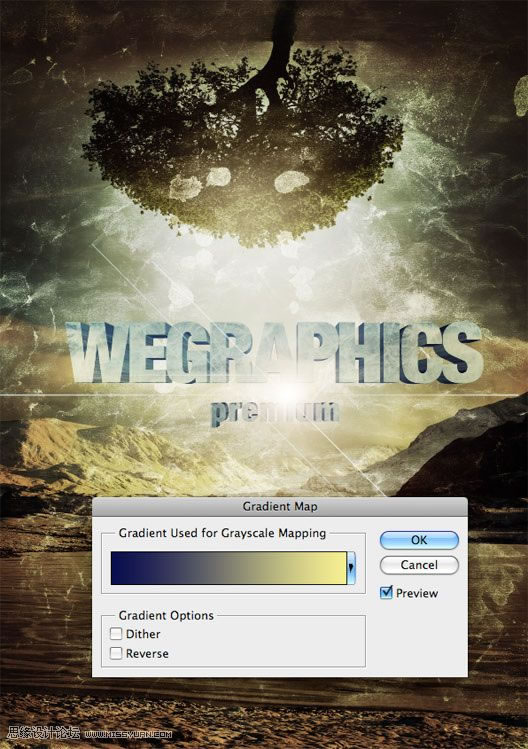
I always end up color adjustments with a gradient map. This is a step I love because I have the impression to have full color control and my images achieve more harmony. Try this exercise: open some of your old Photoshop works and create a new gradient map adjustment (Layer>New Adjustment Layer>Gradient Map), then choose a nice gradient, set the layer to overlay and reduce opacity to around 70%. Isn’t it nice? Try different gradients until you find the best one. In this tutorial, for example, I have in mind 2 colors I’d like to enhance: blue and yellow. So I create a gradient map layer going from blue (#080d4e) to yellow (#f6f091). And this is the result (my layer’s opacity is 40%):
第十二步
我总是在最后做一个颜色的渐变。这是一个我喜欢的步骤,因为我有意的控制整个图片色彩达到更加的和谐效果。
试着这样做:打开你以前做的一些旧图片,选择一个新的渐变(图层-新建调整层-渐变映射),然后选择一个漂亮的渐变,设置图层模式-叠加,调整不透明度在 70%左右,是不是很不错?试试不同的渐变直到你找到最理想的那个。
在这个教程中,举个例子,我脑子里面想着要提高2个颜色的色彩:蓝色和黄色,所以我选择了一个渐变图层是从蓝色(#080d4e)到黄色 (#f6f091)的。下面是这个的效果(我的鹅不透明度是40%)。
Step 13
Open in Photoshop the image of the dude and extract it using the pen tool. Paste it into our document (below adjustment layers). You need to resize it, so click ctrl+T to select the transform tool and make it smaller.
第十三步
打开人物素材,利用钢笔工具把人物抠出来。粘贴到这个海报图层中(在调整图层下方)。你需要缩小它,那么按CTRL+T键进行自由变换,缩小到直到你满意为止。

| 上一页123456下一页 |