油画效果的制作方法有很多,作者介绍的最为简单。大致过程:先把图片整体调整好颜色,然后用一组滤镜做出类似油画笔画的纹理即可。效果虽然不是很像,不过也蛮特别的。
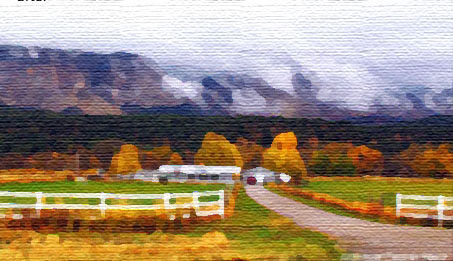
最终效果
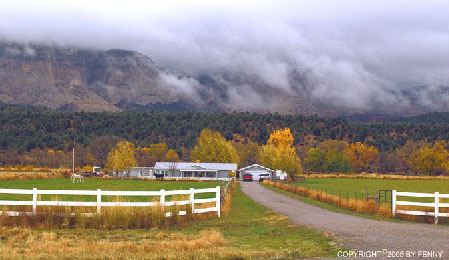
原图
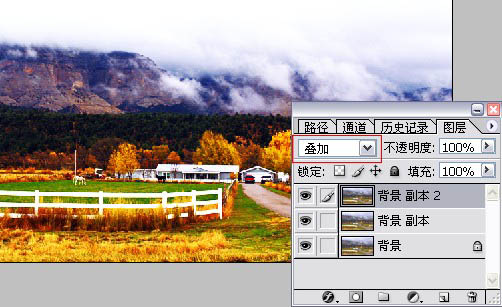
1、打开原图,调整图片的色彩饱和度,复制一层模式为叠加(用以加强饱和度和层次感),可根据情况再叠加一层。
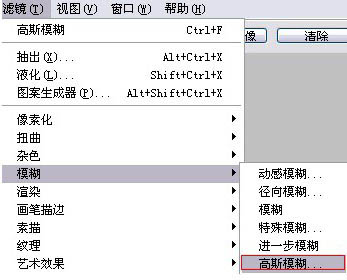
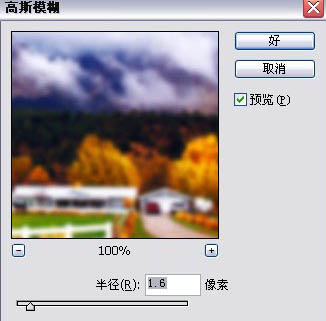
2、合并图层,滤镜——高斯模糊(数值可根据个人喜好设定,数值越大细节越少。)
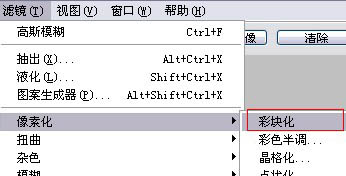
3、然后执行:滤镜—像素化--彩块化(可根据需要多执行一次)
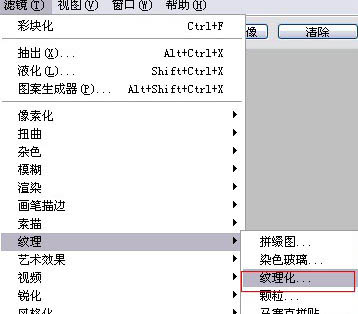
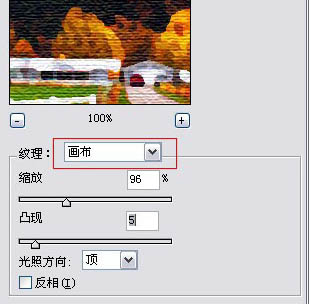
4、最后,滤镜——纹理——纹理化,选择亚麻布做画布(数值随个人喜好而设置)。
最终效果: