调出人物肤色个性灰色质感色调 PS照片调色教程
作者 妮子 来源 PS联盟 发布时间 2009-08-31
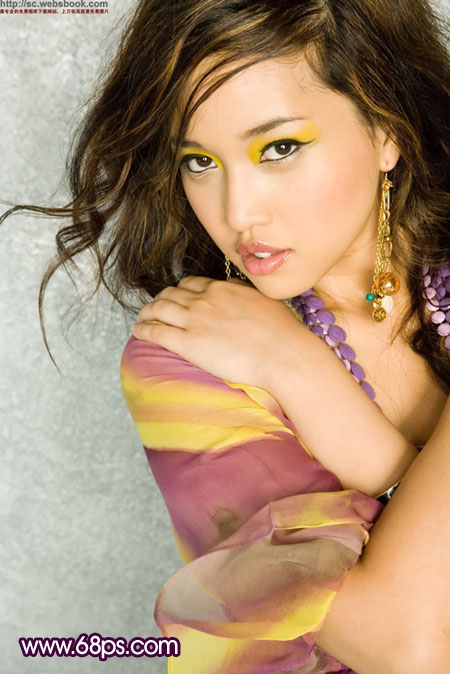
原图
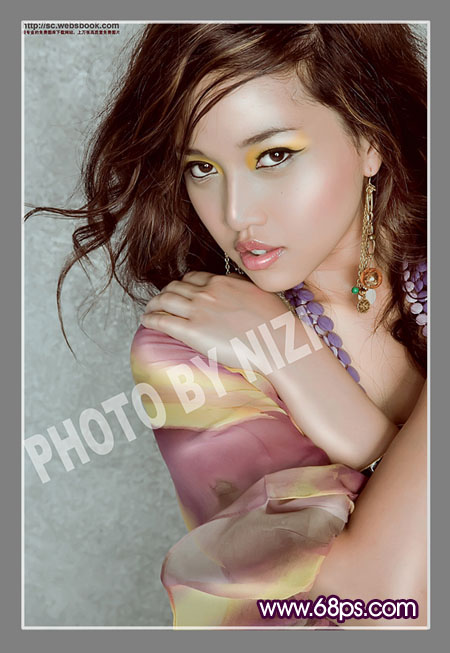
最终效果
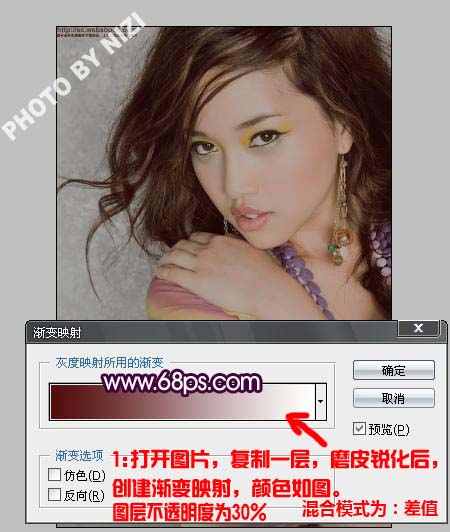
1、打开原图素材,把背景图层复制一层,适当的给人物磨下皮,再锐化一下,然后创建渐变颜色调整图层,颜色设置如下图,确定后把图层的不透明度改为:30%。
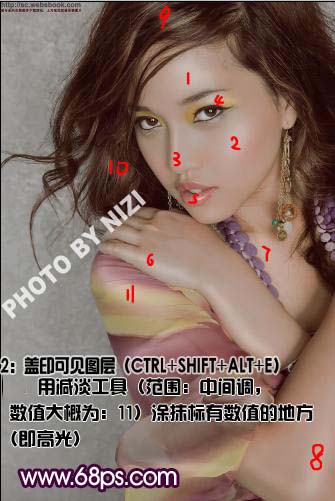
2、新建一个图层,按Ctrl + Alt + Shift + E盖印图层,用减淡工具(范围:中间值,数值大改为:11),涂抹下图标有数字的地方即高光部分,适当涂亮一点,涂得时候需要有耐心。
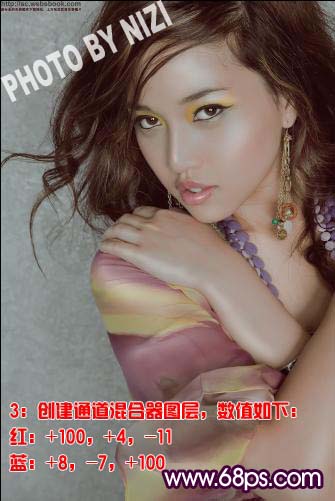
3、创建通道混合器调整图层,参数设置:红:+100/+4/-11,蓝:+8/-7/+100。
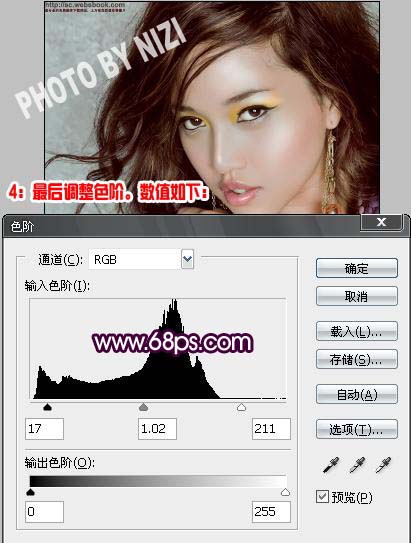
4、创建色阶调整图层,参数设置如下图,确定后修饰下细节,完成最终效果。
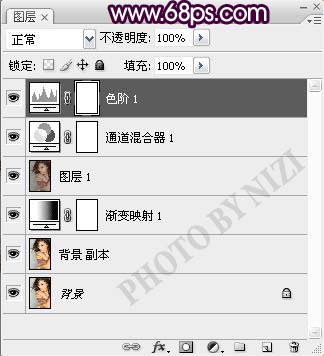
最终效果及图层参照: