Photoshop调出的古典青绿色调照片,最终效果如下:
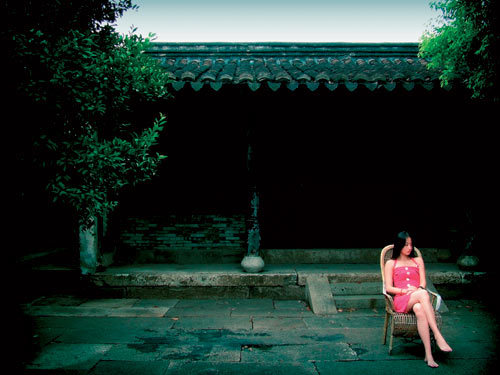
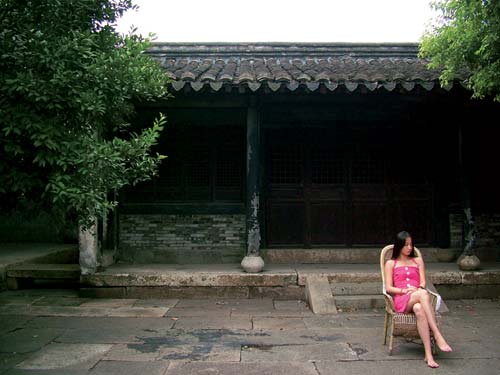
原图:
这是一个简单的艺术照片处理效果,使用Photoshop滤镜加上色调调整。制作步骤如下:
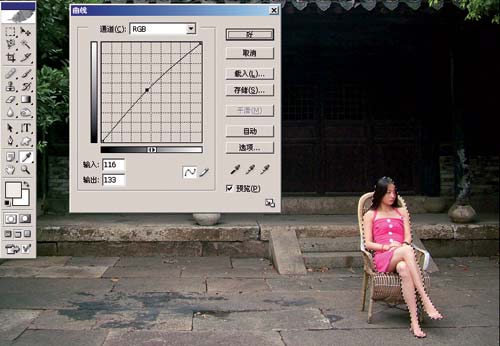
1、打开原图素材,把人物勾出来,转为选区后按Ctrl + M适当调亮一点,然后再按Ctrl + Shift + I反选把背景部分调暗一点。
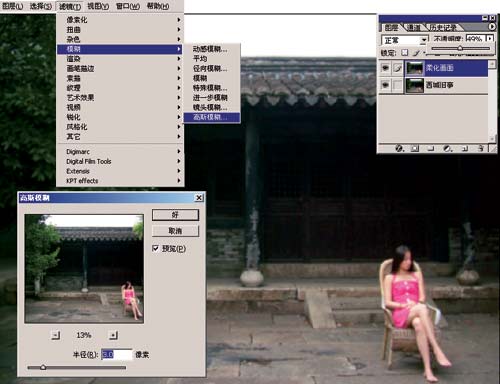
2、把背景图层复制一层,取消选区,执行:滤镜 > 模糊 > 高斯模糊,数值为3,确定后把图层的不透明度改为:45%。
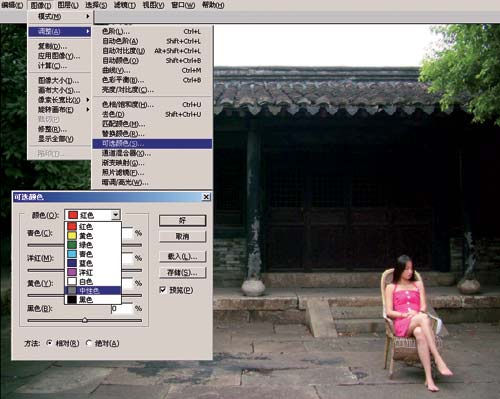
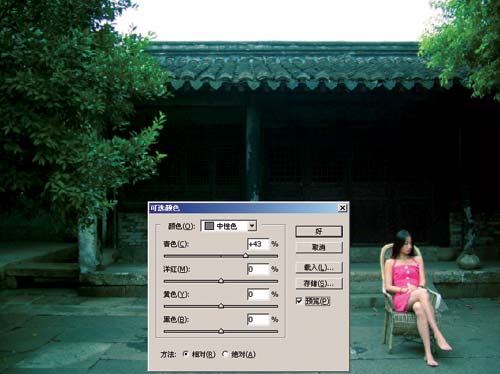
3、选择菜单:图像 > 调整 > 可选颜色,参数设置如下图。
4、新建一个图层盖印图层,选择加深工具把边角部分加深处理,完成最终效果。
