本教程介绍黄褐色图片的调色方法。过程也比较简单,只需要用白色调色工具把图片调成黄褐色,再适当加上暗角并柔化处理即可。
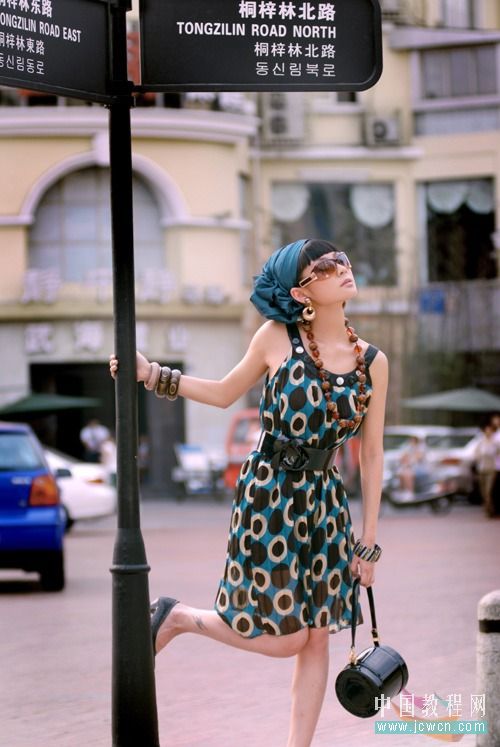
原图
最终效果

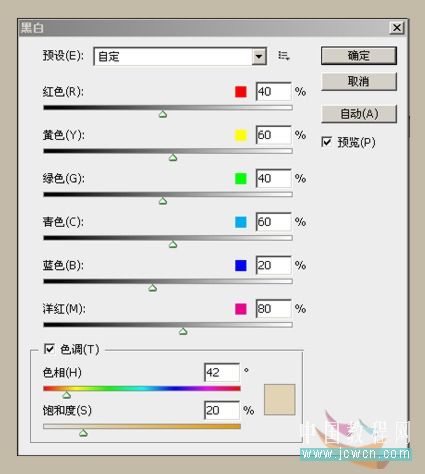
1、打开原图素材,创建黑白调整图层,设置如图。
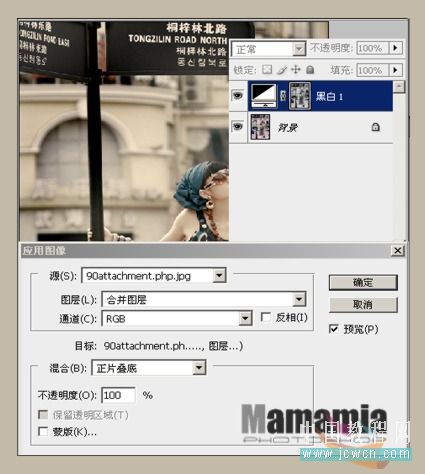
2、对这个黑白调整蒙版执行:图像 > 应用图像,设置如图。
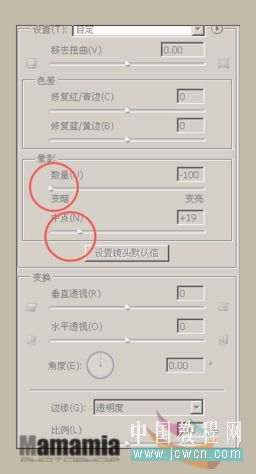
3、新建一个图层,盖印一层,SHIFT+CTRL+ALT+E,执行:滤镜 > 扭曲 > 镜头校正,设置如图。
4、对这个图层加一个蒙版,柔黑笔刷,扫出一些不想变化的区域,如图。

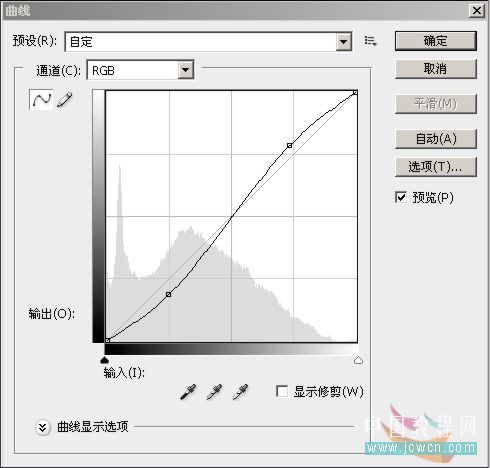
5、创建曲线调整图层,强化对比,如图。
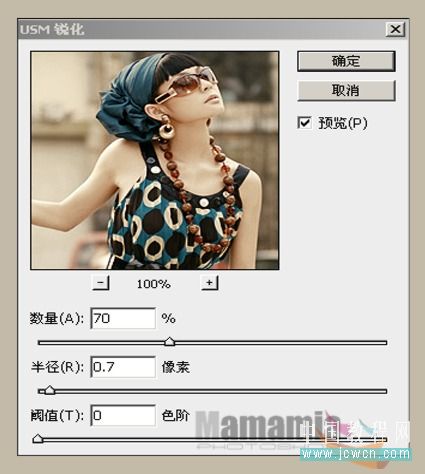
6、再次盖印图层,进行USM锐化,设置如图。
最终效果: