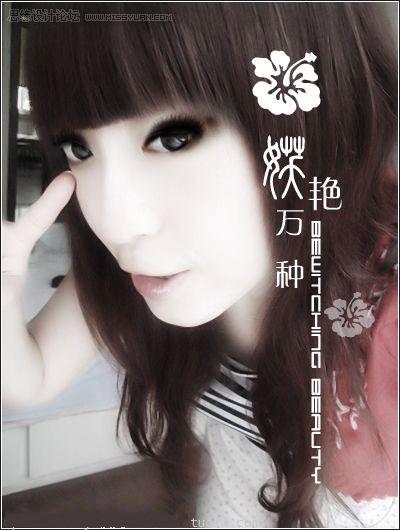
效果图
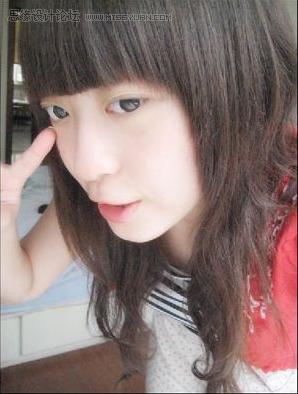
原图
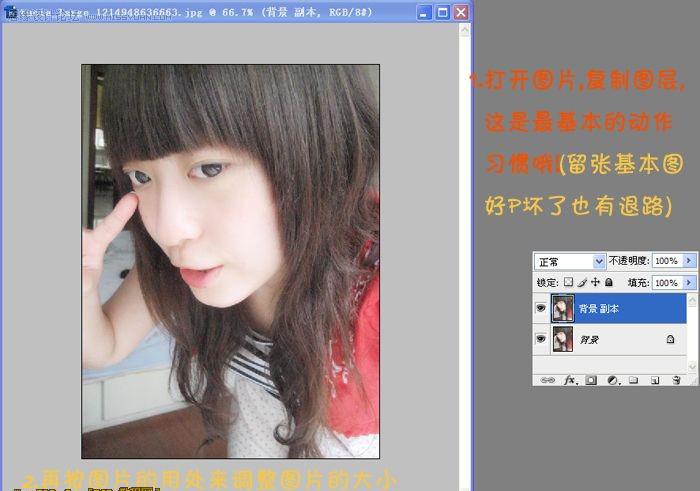
教程步骤如下
1.打开原片,按CTRL+J复制一层
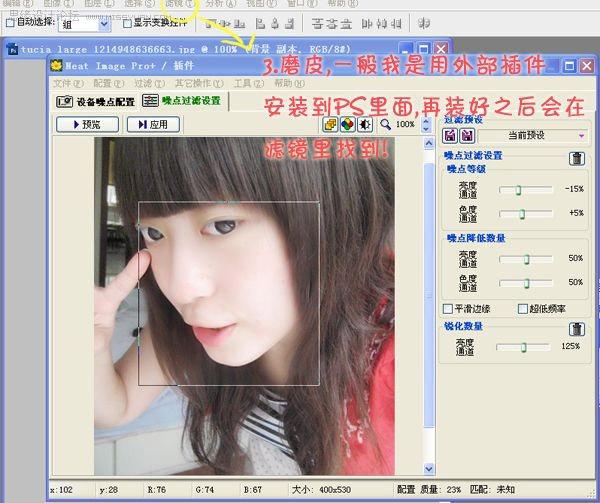
2.磨皮,用一般的外挂就行.(没有的可自己上网搜索 磨皮方法自选)
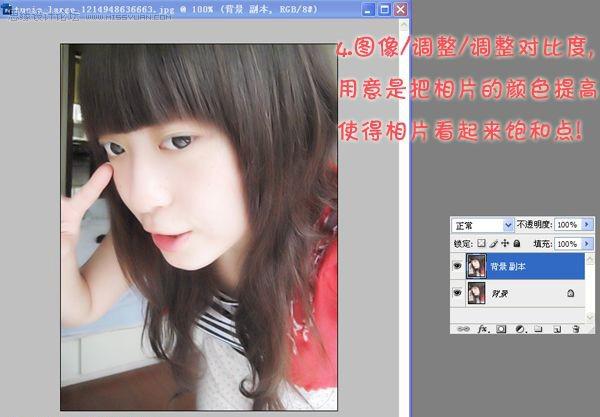
3.执行图像>调整>调整对比度
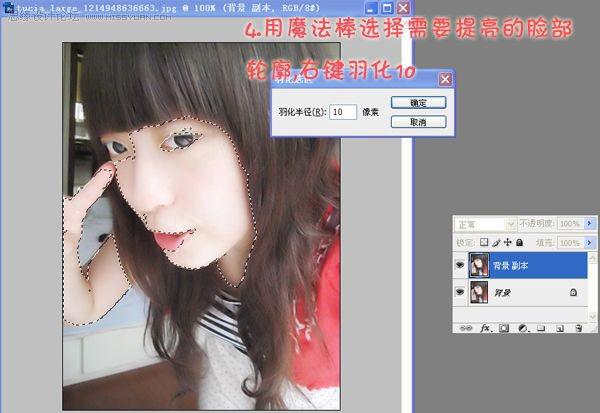
4.用魔术棒工具选择脸部要提亮的部位,按住SHIFT可以多选,然后右键羽化10
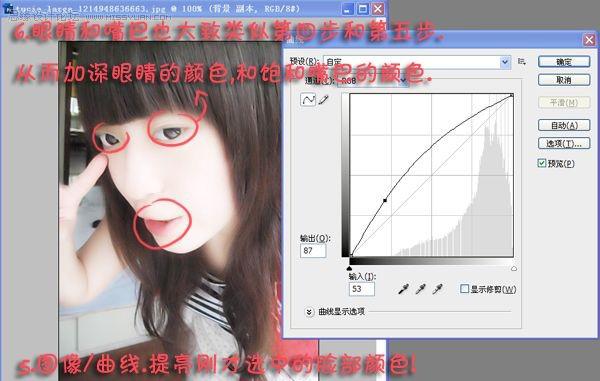
5.执行图像>调整>曲线,眼睛和嘴巴也执行第4、5步的操作
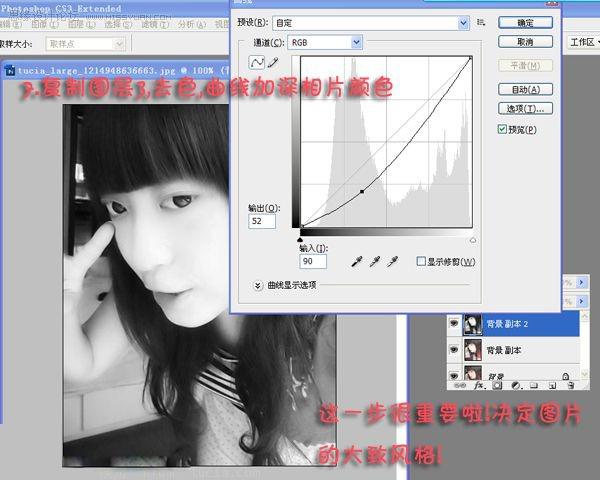
6.按CTRL+J复制背景副本得到背景副本2,按CTRL+SHIFT+U队背景副本2去色,再调整一下曲线 设置如图
7.再降低不透明度

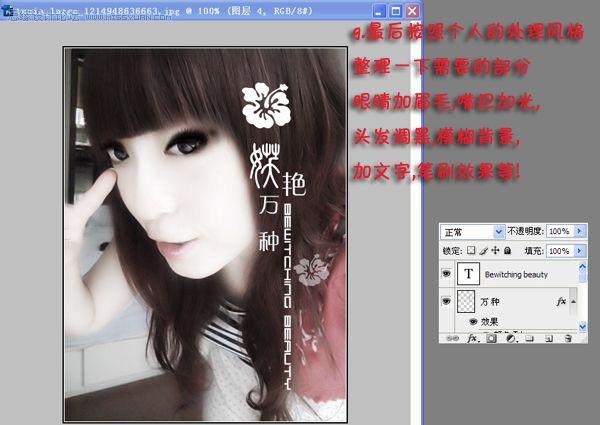
最后按照个人的处理风格 添加文字 再仔细修饰下 得出最终效果
最终效果图