用Photoshop设计打散效果的笔记本电脑海报
Step 10:
Here is the same image but with all duplicate laptop screen image layers hidden and all photo layer’s with 100% opacity.
10. 隐藏所有屏幕图层。
所有photo图层不透明度设为100%.
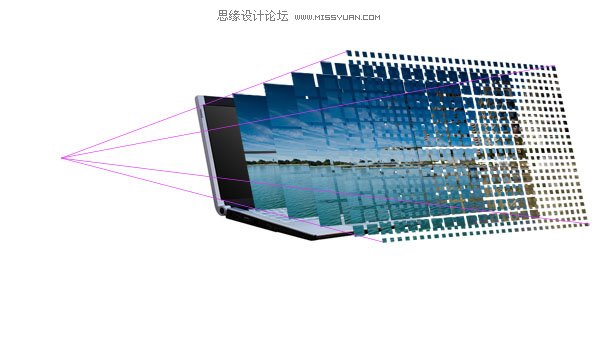
Step 11:
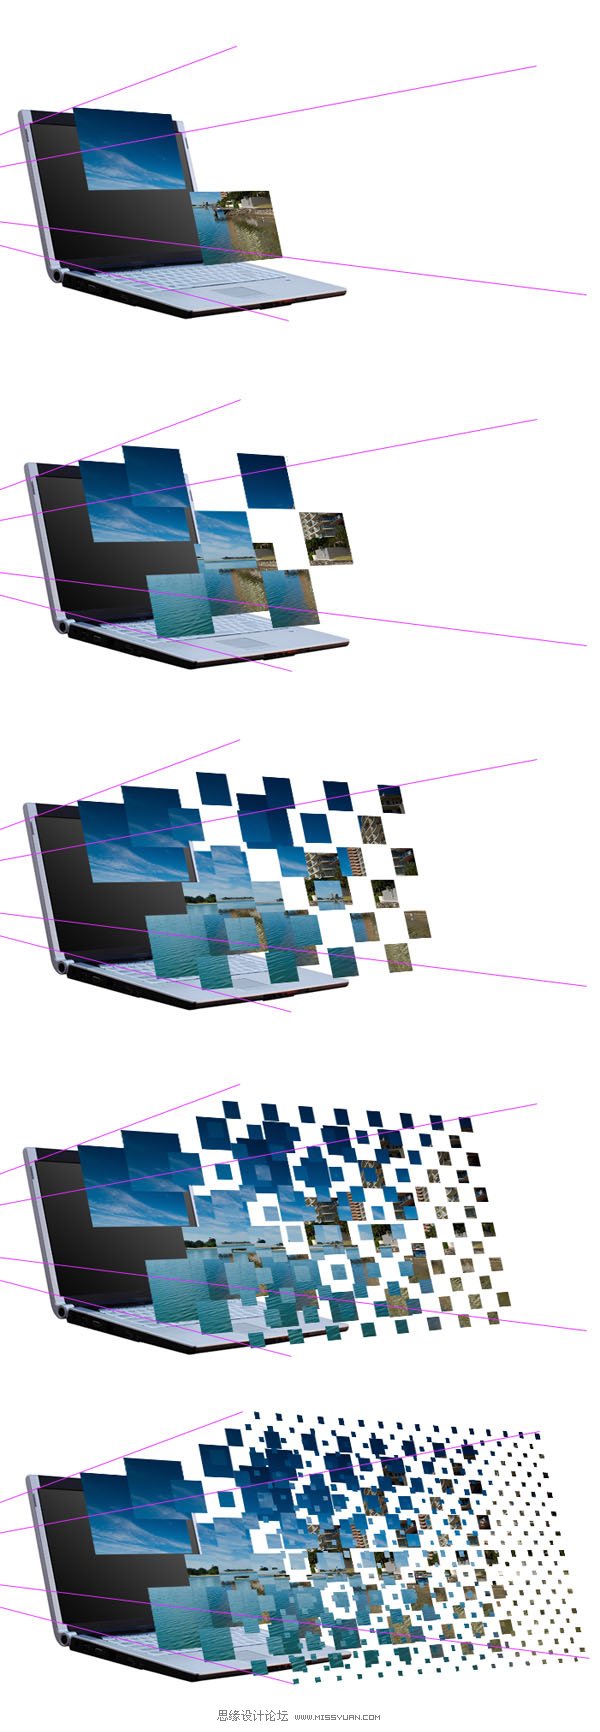
Now is the time-consuming part. Hide all of your photo layers except for your smallest photo layer. Use your magic wand tool set at 255 tolerance to select entire squares and delete them to leave a checkerboard effect. To do this simply go down each column deleting squares, being sure to leave a square remaining between each two that you delete. Then move onto the next column and repeat, but make sure that no squares you delete are next to an already deleted square, deleted squares should be diagonal to each other. The image below shows the various stages of doing this with each photo layer:
11. 现在到了最费时的一步,隐藏所有的photo图层,除了最小尺寸的一张。
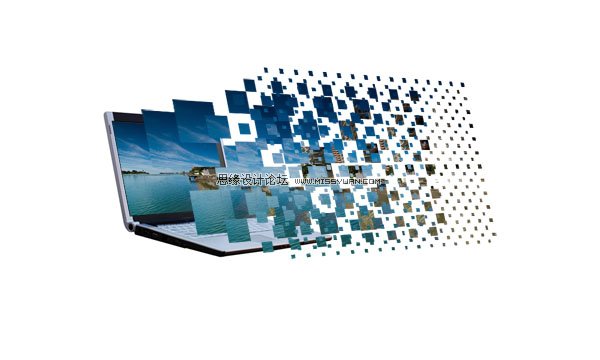
Step 12:
You should still have your original photo layer, as it was duplicated for safe keeping near the start of the tutorial. Duplicate the layer again, and move it so that it is the first layer above your laptop image layer. Then go to edit>transform>distort and fit the photo nicely over the laptop screen. Then hide all of your vanishing point guidelines and make sure that all of your checkerboard photo layers are visible. Seeing as all these layers are within the same layer set select the layer set and drag it to make the graphic more central in your document.
12. 打开我们之前备份的photo原图,复制图层,变换其大小后紧贴笔记本屏幕。
| 上一页1234下一页 |